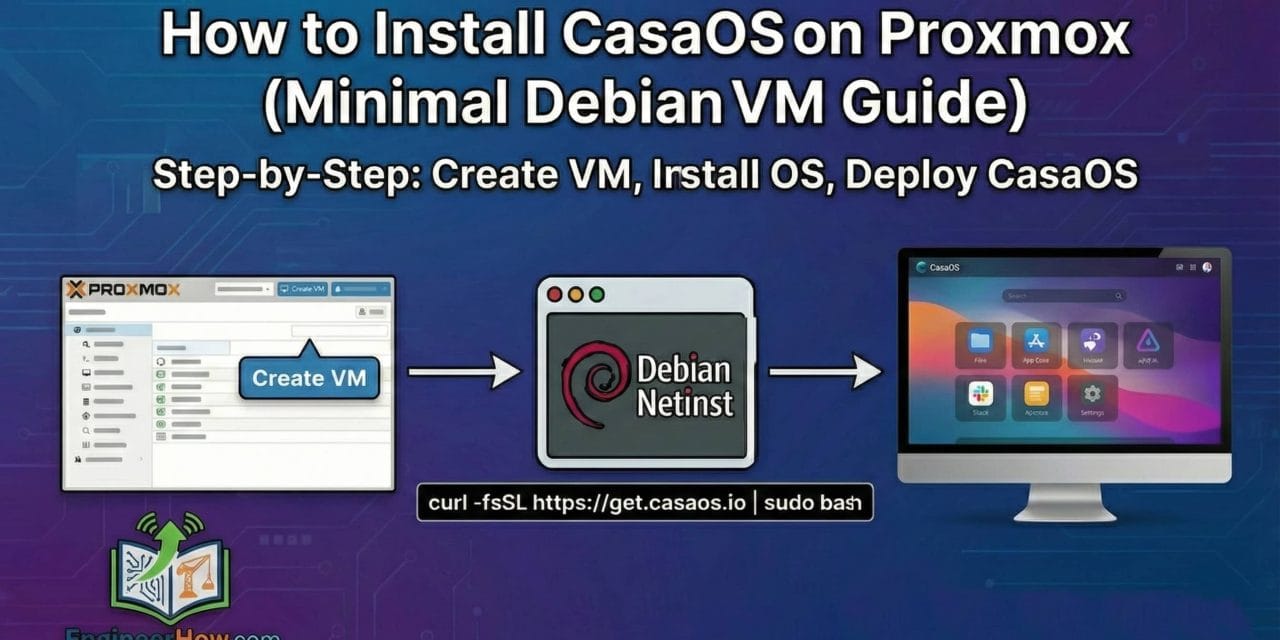
CasaOS is a modern, lightweight web interface designed to simplify self‑hosting and home server management. When combined with Proxmox VE, CasaOS becomes a powerful all‑in‑one platform for running Docker applications, managing storage, handling backups, and hosting services without complexity. In this guide, you’ll learn how to install CasaOS on Proxmox using a minimal Debian virtual machine, ensuring low resource usage, maximum stability, and clean separation from critical services like Home Assistant.
Why Run CasaOS on Proxmox?
Running CasaOS inside a dedicated Proxmox virtual machine provides several advantages:
- Clean separation between smart‑home services and server applications
- Easy VM‑level backups and snapshots
- Minimal resource usage
- Simple Docker application management
- Web‑based UI accessible from any device on the LAN
This setup is ideal for homelab users, NAS owners, and professionals who want a reliable self‑hosted environment.
System Requirements (Recommended)
| Resource | Value |
|---|---|
| CPU | 2 vCPU |
| RAM | 4 GB |
| Disk | 50–100 GB |
| OS | Debian 12 / 13 (Minimal) |
| Network | VirtIO (vmbr0) |
Step 1: Create Debian VM on Proxmox
Create a new virtual machine in Proxmox with the following settings:
- BIOS: OVMF (UEFI)
- Machine: q35
- Secure Boot: Disabled
- SCSI Controller: VirtIO SCSI single
- Disk Bus: SCSI
- Network Model: VirtIO
Use the Debian netinst ISO and complete a minimal installation.
Step 2: Debian Software Selection (Critical)
During Debian installation, select only:
- SSH server
- Standard system utilities
Do not install any desktop environment or additional software. CasaOS runs entirely via web UI and Docker.
Step 3: Prepare the System
After logging into the VM via SSH:
sudo apt update && sudo apt upgrade -y
sudo reboot
Ensure your user has sudo privileges before continuing.
Step 4: Install CasaOS (Official Method)
Run the official CasaOS installer:
curl -fsSL https://get.casaos.io | sudo bash
The installer will automatically:
- Install Docker
- Configure required services
- Enable CasaOS system services
Installation usually completes within a few minutes.
Step 5: Access CasaOS Web Interface
After installation, open a browser and navigate to:
http://<CASAOS-IP>
Create an admin account and password to access the CasaOS dashboard.
Best Practices
- Keep CasaOS LAN‑only (do not expose ports directly)
- Use Cloudflare Tunnel or VPN for remote access
- Do not install Home Assistant inside CasaOS
- Use Proxmox snapshots for VM‑level backups
- Store application data on dedicated mounted storage when possible
Common Issues and Fixes
CasaOS installer fails
Ensure curl, sudo, and ca‑certificates are installed and the system is fully updated.
Cannot access web UI
Verify VM IP address and ensure no firewall rules are blocking port 80 on the LAN.
Conclusion
Installing CasaOS on Proxmox using a minimal Debian VM provides a clean, efficient, and scalable home server solution. This architecture is ideal for running Docker applications, managing backups, and hosting services while keeping critical workloads isolated and secure.
In the next step, CasaOS will be integrated with Cloudflare Tunnel for secure remote access without exposing ports.
About EngineerHow.com
EngineerHow.com shares practical, real‑world guides on engineering, IT infrastructure, virtualization, and self‑hosting.
Have questions or improvements? Share them in the comments below.
© 2025 EngineerHow.com