
Copyright © EngineerHow.com. All rights reserved.
A detailed guide on performing a Virtual-to-Virtual (V2V) migration of a Windows Server from a provider like Contabo to a Proxmox VE environment, whether on a Hetzner dedicated server or a local machine.
Migrating a production Windows Server, especially one running critical ERP systems with SQL Server and IIS, can be a high-stakes task. A clean reinstallation of complex software is often impractical due to cost, licensing, and extensive configuration. This guide provides a robust strategy to move your server with minimal downtime using the free Veeam Agent for Microsoft Windows.
We’ll create a full image of the live server, transfer it using Google Drive, and restore it on the new platform, ensuring all drivers are in place for a smooth transition.
Table of Contents
- Strategy Overview
- Prerequisites & Tools
- Phase 1: Prepare the Source Server
- Phase 2: Backup and Transfer
- Phase 3: Test Restoration on Local Proxmox
- Phase 4: Final Migration and Go-Live
- Post-Migration Troubleshooting
Strategy Overview
This is a Virtual-to-Virtual (V2V) migration. The core challenge is ensuring the Windows operating system has the necessary VirtIO drivers before the move. Without them, it won’t be able to boot in the Proxmox KVM environment. We will use an incremental backup approach to keep the final downtime to a minimum.
The Migration Path:
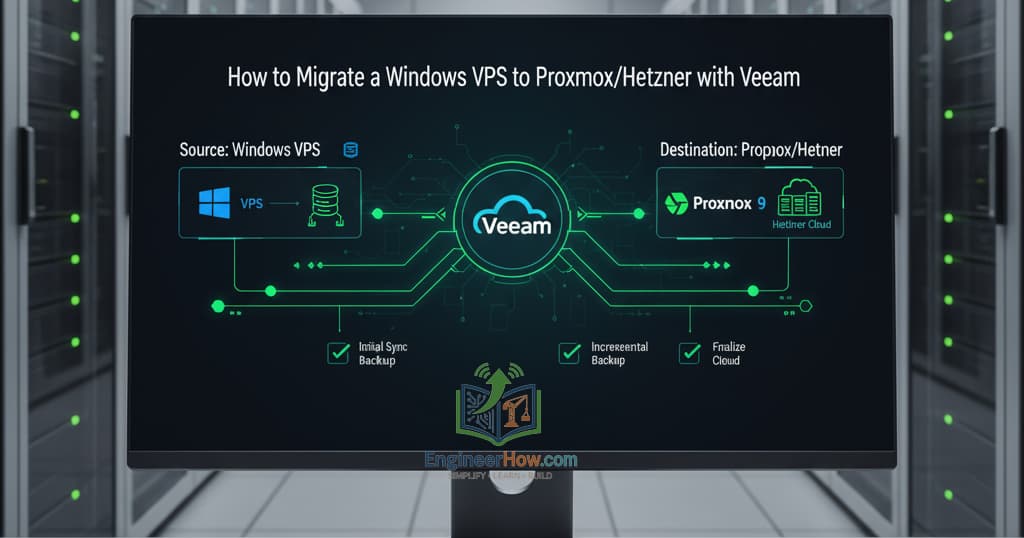
Source VPS (e.g., Contabo) -> Veeam Backup Image -> Google Drive -> Local Proxmox (Test Restore) -> Production Proxmox (e.g., Hetzner)
Prerequisites & Tools
- Veeam Agent for Microsoft Windows (Free): Download the lightweight standalone agent. You do not need the full Backup & Replication suite.
- VirtIO Drivers ISO: Get the latest stable drivers from the official repository. These are essential for Windows to communicate with Proxmox hardware.
- Rclone (Optional): A powerful command-line tool for syncing files to cloud storage. Highly recommended for large backups.
- Google Drive: Ensure you have enough storage space for the full backup.
- Proxmox VE Environments: One for local testing and one on the final destination server (e.g., Hetzner AX42).
Phase 1: Prepare the Source Server (i.e Contabo Windows)
Proper preparation is 90% of the success. Do not skip these steps.
1. Install VirtIO Drivers (CRITICAL)
If you attempt to boot the Windows image on Proxmox without these drivers, you will face a Blue Screen of Death (INACCESSIBLE_BOOT_DEVICE).
- Download the VirtIO ISO onto the source Windows VPS.
- Mount the ISO by double-clicking it.
- Run the
virtio-win-gt-x64.exeinstaller. - Crucial: During installation, ensure the VirtIO SCSI controller, VirtIO Network Adapter (NetKVM), and QEMU Guest Agent are all selected.
2. Install and Configure Rclone (Optional, Recommended) or follow Phase 2 for Workaround
Veeam’s free agent cannot back up directly to Google Drive. Rclone is the perfect tool to bridge this gap.
- Extract
rclone.exeto a simple path (e.g.,C:\Rclone\). - Open Command Prompt and run
rclone config. - Follow the prompts: Create a new remote (
n), name it (gdrive), select Google Drive, and complete the browser-based authentication.
3. Create Veeam Recovery Media
This bootable ISO is your key to restoring the backup on the new server.
- Download Veem Agent > https://www.veeam.com/products/downloads.html?ad=menu-products-portfolio-free
- Login or Sign-up to Download

- Install the Veeam Agent.
- Search for and launch Create Recovery Media from the Start Menu.
- Select ISO image file as the destination.
- Crucial Settings:
[X]Include network connections settings from this computer.[X]Include hardware drivers from this computer. (This automatically embeds the VirtIO drivers you just installed).
- Create the ISO and download it to your local machine. It should be less than 1GB.
4. Prepare DNS for a Fast Switch
To minimize downtime, lower the TTL (Time-To-Live) of your domain’s A record 24-48 hours before the final migration. If using Cloudflare, set it to the lowest possible value (e.g., 60 seconds).
Phase 2: Backup and Transfer
1. Workaround for Single-Disk Servers
Veeam wisely prevents you from saving a full computer backup to the same disk being backed up. If your VPS has only a C: drive, you must create a dedicated partition for the backup.
- Open Disk Management.
- Right-click the C: drive and select Shrink Volume.
- Shrink it by enough space to hold the backup.
- In the new unallocated space, create a New Simple Volume (e.g., D:).
2. Configure the Veeam Backup Job
- Open the Veeam Agent and create a New Job.
- Backup Mode: Choose Volume level backup.
- Items to Backup: Select Operating System. This correctly includes the C: drive and hidden boot partitions. Ensure your new backup drive (D:) is NOT selected.
- Destination: Select Local storage and point it to a folder on your new D: drive (e.g.,
D:\VeeamBackup). - Guest Processing (CRUCIAL for Databases):
- Check Enable application-aware processing.
- Provide Administrator credentials when prompted. This freezes I/O operations to ensure your SQL database is in a transactionally consistent state.
3. Execute the Backup and Upload
- Run the backup job. This initial full backup can be done while the server is live without causing downtime.
- Once complete, upload the entire backup folder (
D:\VeeamBackup) to Google Drive using your preferred method:- Manual: Drag and drop the folder into the Google Drive web interface.
- Rclone (Recommended):
C:\Rclone\rclone.exe sync D:\VeeamBackup gdrive:YourBackupFolderName
Phase 3: Test Restoration on Local Proxmox
Always perform a test run. This validates your backup and familiarizes you with the restoration process.
1. Prepare Proxmox and Retrieve the Backup
- Upload the
VeeamRecovery.isoto your local Proxmox ISO storage. - The Veeam environment cannot access Google Drive directly. You need an intermediate step:
- Download the backup files from Google Drive to a machine on your local network.
- Set up an SMB (Windows File Share) on your network and place the backup files there.
2. Create the Target VM in Proxmox
Configure the VM hardware to match the new KVM environment:
- OS: Microsoft Windows (select the correct version).
- System:
- SCSI Controller:
VirtIO SCSI(This is mandatory). - Qemu Agent: Enabled.
- BIOS: Match the source VPS. Check
msinfo32on the source. If “Legacy”, use SeaBIOS. If “UEFI”, use OVMF.
- SCSI Controller:
- Disks:
- Bus/Device:
SCSI. - Disk Size: Equal to or larger than the original.
- Bus/Device:
- Network:
- Model:
VirtIO (paravirtualized).
- Model:
3. The Restoration Process
- In the VM’s hardware settings, mount the
VeeamRecovery.isoas the CD/DVD drive and set the boot order to prioritize it. - Start the VM. It will boot into the Veeam recovery environment.
- Select Bare Metal Recovery.
- Locate Backup: Choose Network storage -> Shared folder (SMB).
- Enter the path to your SMB share (e.g.,
\\192.168.1.10\Backups) and provide credentials. The network should work automatically thanks to the embedded VirtIO drivers. - Select the backup file and the desired restore point.
- Follow the on-screen instructions for Disk Mapping, ensuring you restore all necessary volumes (System Reserved, C: Drive).
- Click Restore.
- After completion, shut down the VM, detach the Veeam ISO, and try to boot it. It should now load Windows.
Phase 4: Final Migration and Go-Live
This phase uses an incremental backup for a very short downtime window.
1. Pre-Staging (Before Downtime)
- Set up your production Proxmox server at Hetzner.
- Transfer the initial full backup to storage accessible by the Hetzner host (e.g., a Hetzner Storage Box mounted via SMB).
- Repeat the restoration process from Phase 3 on the Hetzner server.
- Verify the VM boots correctly, then shut it down. The server is now staged and ready for the final delta.
2. The Cutover (Downtime Window)
- Announce Downtime: Stop all user access to the live server.
- Stop Services (Source VPS): To ensure data consistency, stop all critical applications.
- Stop IIS:
net stop W3SVC - Stop all “SQL Server” services in
services.msc.
- Stop IIS:
- Run Incremental Backup (Source VPS): In the Veeam Agent, run the backup job again. It will be very fast, as it only captures changes since the last backup, creating a small incremental
.vibfile. - Transfer Delta: Quickly upload only the new
.vibfile to your Google Drive backup folder. - Retrieve Delta (Destination): Download the incremental file to the SMB share accessible by your Hetzner Proxmox host.
- Final Restore (Destination):
- Boot the staged VM on Hetzner using the Veeam Recovery ISO.
- Start the Bare Metal Recovery process again.
- When you select the backup, Veeam will now show the new incremental restore point. Select it.
- The restore will be extremely fast as it only applies the final changes.
- Go-Live:
- Shut down the VM and detach the ISO.
- Boot the VM.
- Configure the server’s public IP address in its network settings.
- Update your DNS A record to point to the new Hetzner IP.
Downtime is over. Congratulations on a successful migration!
Post-Migration Troubleshooting
It’s common to face minor application issues after a restore. Here are the most frequent ones for an IIS/SQL stack.
Issue 1: Web Application shows “Internal Server Error (500)” This usually means a configuration error is preventing the application from starting.
- Solution: Check your
web.configfile for typos, especially missing quotes or incorrect XML structure.
Issue 2: Application shows “Invalid Username or Password” This indicates the app can reach the database, but authentication is failing.
- Solution A (Most Common): Update the Connection String. In
web.config, theData Sourcein your connection string may still point to the old server name (e.g.,SCSOMAN-VPS\SQLEXPRESS). Change it tolocalhost\SQLEXPRESS. - Solution B: Create a New SQL Login. In SQL Server Management Studio (SSMS), create a new login with a secure password. In the login’s properties, use User Mapping to grant it
db_ownerpermissions on your application’s database. Update theweb.configwith these new credentials. - Solution C: Reset a User Password Directly in the Database. If you can’t log in to the application itself, you can reset a user’s password via SQL query.
-- Use this query with caution and replace with your actual table/column names.
UPDATE [dbo].[Users]
SET [Password] = 'your-new-secure-password'
WHERE [User_Name] = 'known-username';
🔗 Useful Links 📺 EngineerHow YouTube Channel
📢 About EngineerHow.com EngineerHow.com is dedicated to providing expert IT and engineering tutorials, helping professionals and enthusiasts set up servers, networks, and self-hosted solutions. Our guides focus on step-by-step instructions to make complex topics easy to understand.
🚀 Explore More IT Guides: EngineerHow.com
💬 Join the Discussion! Have questions or insights? Drop a comment below and let’s discuss!


