
Copyright © EngineerHow.com All rights reserved.
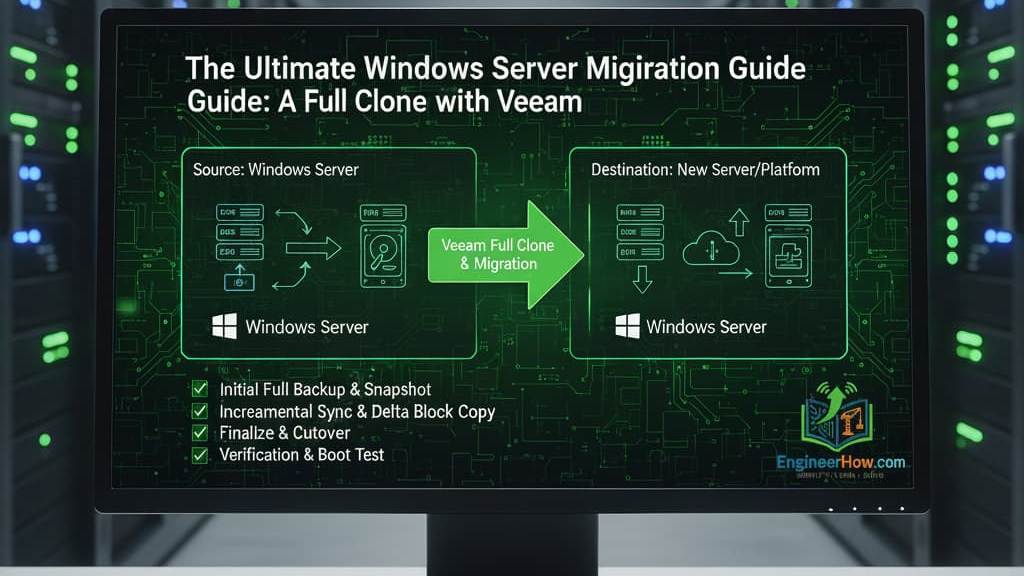
This comprehensive guide details a professional, enterprise-grade strategy for migrating a live Windows Server from any VPS provider to a high-performance Proxmox VE environment. The process is designed for maximum safety and minimal downtime by creating a full server clone, using a staging environment for testing, and performing a final rapid cutover.
Table of Contents
Strategy Overview
Phase 1: Source Server Preparation
Phase 2: Destination Environment Setup
Phase 3: Initial Staging Restore & Testing
Phase 4: The Final Cutover
Phase 5: Post-Migration Cleanup
Appendix: Post-Migration Troubleshooting & Performance Tuning
Strategy Overview
This migration uses a two-stage approach to ensure zero data loss and less than 30 minutes of actual downtime.
Staging: We first restore a full backup of the live server to a new, non-production VM. We configure this VM with a dedicated IP and point a testing subdomain (e.g.,
usp.engineerhow.com) to it. This allows us to thoroughly test every aspect of the application without affecting the live server.Cutover: Once testing is complete, we schedule a brief maintenance window. We take one final, small “incremental” backup from the live server, transfer it to the new VM, and apply it. We then switch the production DNS (e.g.,
sp.engineerhow.com) to the new server’s IP.
Phase 1: Source Server Preparation
Goal: Create a full, application-consistent backup of your live server.
Create a Backup Partition: On your source Windows Server, open Disk Management. Shrink your
C:drive to create a new, separate partition (e.g.,D:) large enough to hold the backup.Install VirtIO Drivers: Download the latest stable VirtIO Drivers for Windows ISO from the official repository and install them on the source server.
Download and Install Veeam Agent:
Navigate to the Veeam free tools download page: https://www.veeam.com/products/downloads.html?ad=menu-products-portfolio-free
You may need to create a free account to access the downloads.
On the downloads page, scroll down to find the Veeam Agent for Microsoft Windows FREE section.
Important: Do not download the “Veeam Backup & Replication Community Edition,” which is a much larger suite. You only need the lightweight, standalone agent for this process.
Download and run the installer on your source server.
Create Veeam Recovery Media: Launch Create Recovery Media from the newly installed Veeam software. Create a bootable ISO and crucially, check the box to “Include hardware drivers from this computer.”
Configure and Run Full Backup:
Create a new Veeam backup job to back up the Operating System to your new
D:drive partition.Ensure Enable application-aware processing is checked.
Run the job to create the initial full backup.
Upload to Cloud: Upload the entire backup folder (e.g.,
D:\VeeamBackup) to a cloud storage provider like Google Drive.
Phase 2: Destination Environment Setup
Goal: Prepare the Proxmox host with the necessary utility and target VMs.
Set Up Ubuntu “Download Hub” VM: Create an Ubuntu Desktop VM on a private Proxmox bridge (
vmbr2) with a static IP (e.g.,192.168.1.2). Install and configure Samba to create a network share.Create the Target Windows VM Shell: Create a new VM with your desired resources (e.g., 32GB RAM, 8 Cores) and performance-oriented settings (UEFI, VirtIO SCSI single, Host CPU, no ballooning).
Phase 3: Initial Staging Restore & Testing
Goal: Bring a copy of your server online in the new environment for full testing.
Transfer Full Backup & Set Up Share: Download the backup to the Ubuntu VM and configure the Samba share, ensuring the
pathinsmb.confis correct and permissions are set.Perform Veeam Restore from Samba: Boot the Windows VM from the Veeam ISO and restore the full backup from the Samba share (e.g.,
\\192.168.1.2\backup).Configure Dedicated IP: After the restore, configure the VM to use its dedicated public IP on the
vmbr0bridge with its assigned virtual MAC.Note: You must request a Separate MAC for your additional IP from your server provider (e.g., Hetzner).
Configure Firewalls and DNS: Set up firewall rules in your provider’s control panel and in Windows to allow your necessary ports (RDP, Web). Point your testing
Arecord (e.g.,usp.engineerhow.com) to the new IP.Test Thoroughly: Connect via RDP. Access your site. Troubleshoot any login or performance issues using the Appendix.
Phase 4: The Final Cutover
Goal: Apply the final data changes to the new server and go live with minimal downtime.
Announce Maintenance Window.
Stop Services on the OLD Server.
Run Final Incremental Backup on the old server.
Transfer the new
.vibfile to the new Windows VM (e.g., via Google Drive toC:\FinalBackup\).Apply Final Changes from Local Disk: Boot the Windows VM from the Veeam ISO, start the Bare Metal Recovery, and restore the newest restore point from the local disk.
Go Live: Detach the ISO, boot the VM, and change the
Arecord for your production domain (e.g.,sp.engineerhow.com) to point to your new server’s IP.
Phase 5: Post-Migration Cleanup
After a few days of stability, decommission the old server.
On the Proxmox host and VMs, delete temporary backup folders.
Appendix: Post-Migration Troubleshooting & Performance Tuning
Login Page Hangs/Stuck or “Error Locating Server/Instance Specified”: Status: SOLVED. This is a database connection issue. Fix: Edit your
web.configfile and change theData Sourcein the connection string fromOLD-SERVER-NAME\SQLEXPRESStolocalhost\SQLEXPRESS.Slow Performance / Cloudflare 524 Errors: This is a server-side performance bottleneck.
Install/Verify QEMU Guest Agent: This is a crucial service. Mount the VirtIO Driver ISO, run
virtio-win-gt-x64.exeagain, ensure “QEMU Guest Agent” is selected, and reboot. Verify in the Proxmox summary that the agent is running.Set High Performance Power Plan: In an Administrator PowerShell, run
.\powercfg.exe /setactive 8c5e7fda-e8bf-4a96-9a85-a6e23a8c635cand reboot.Tune SQL Memory: In SQL Server Management Studio (SSMS), connect to
localhost\SQLEXPRESS, go to server Properties -> Memory, and set the Maximum server memory (in MB) to a value that leaves 4-6GB for the OS (e.g.,28672for a 32GB VM).
Cloudflare 404 Errors: This is an SSL/IIS binding issue.
Add IIS Bindings: In IIS Manager, add
httpandhttpsbindings for your hostnames (e.g.,sp.engineerhow.comandusp.engineerhow.com).Use a Valid/Self-Signed Certificate for the HTTPS bindings.
Set Cloudflare SSL Mode to Full (Strict) if using a valid certificate, or Full if using a self-signed one for testing.
🔗 Useful Links 📺 EngineerHow YouTube Channel
📢 About EngineerHow.com EngineerHow.com is dedicated to providing expert IT and engineering tutorials, helping professionals and enthusiasts set up servers, networks, and self-hosted solutions. Our guides focus on step-by-step instructions to make complex topics easy to understand.
🚀 Explore More IT Guides: EngineerHow.com
💬 Join the Discussion! Have questions or insights? Drop a comment below and


