Introduction
Sharing files between two Windows 11 PCs can be done in multiple ways, but the most secure and controlled method is by creating a dedicated user for file sharing. This guide provides a step-by-step method to set up file sharing securely, ensuring only authorized users have access.
Method 1: Secure File Sharing with a Dedicated User (Recommended)
This method is the most secure because it allows file access only to a specific user.
Step 1: Create a Dedicated User for File Sharing
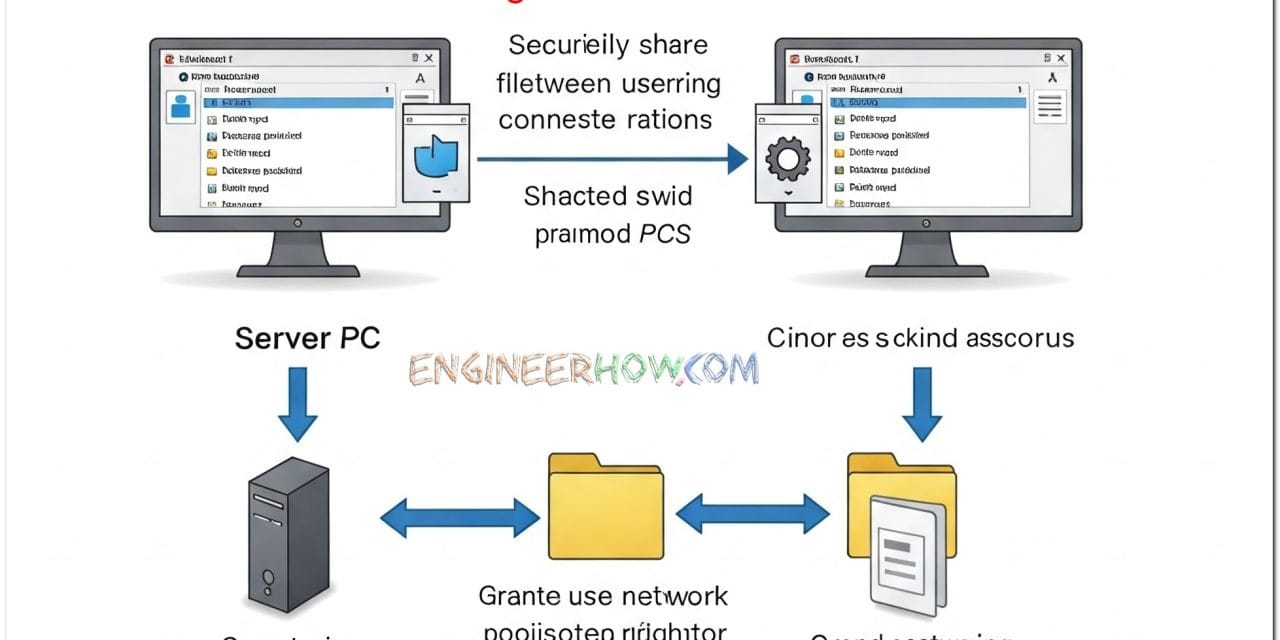
Method 1 to create use with Netplwiz
Yes, you can use Win + R, then type **netplwiz** and press Enter to create a user in Windows 11. Here’s how:
Creating a User Using Netplwiz
Press
Win + R, typenetplwiz, and press Enter.Click Add to create a new user.
Select Sign in without a Microsoft account (not recommended).
Click Local account.
Enter a Username (e.g.,
FileShareUser).Set a strong password and confirm it.
Click Next, then Finish.
Method 2 Using Windows Settings
- Open Settings (Press Win + I).
- Navigate to Accounts > Other users.
- Click Add account.
- Click I don’t have this person’s sign-in information.
- Click Add a user without a Microsoft account.
- Enter the following:
- Username:
FileShareUser - Password: (Set a strong password)
- Security Questions: Answer for account recovery.
- Username:
- Click Next to create the user.
- (Optional) If admin access is required:
- Go to Settings > Accounts > Other users.
- Click
FileShareUser> Change account type. - Select Administrator (not recommended for security).
Step 2: Share a Folder and Assign Permissions
- Locate the folder to share (e.g.,
C:\SharedFiles). - Right-click the folder and select Properties.
- Go to the Sharing tab and click Advanced Sharing.
- Check Share this folder.
- Click Permissions > Remove Everyone for security.
- Click Add > Type
FileShareUser> Click Check Names > OK. - Assign access levels:
- Read → View files only.
- Change → Edit files.
- Full Control → Complete access.
- Click OK > Apply > OK.
Step 3: Configure Security & Firewall Settings
- Set NTFS Permissions:
- Right-click the shared folder (
C:\SharedFiles) > Properties. - Go to Security tab > Edit.
- Click Add, type
FileShareUser, and click Check Names > OK. - Remove Everyone.
- Set permissions for
FileShareUser(Modify, Read, or Full Control). - Click Apply > OK.
- Right-click the shared folder (
- Allow File Sharing in Windows Defender Firewall:
- Open Windows Security.
- Click Firewall & network protection.
- Click Allow an app through firewall.
- Find File and Printer Sharing and check Private.
- Click OK.
Step 4: Access the Shared Folder from the Second PC
- Find the First PC’s IP Address:
- On the first PC, open Command Prompt and type:
ipconfig - Note the IPv4 Address (e.g.,
192.168.1.100).
- On the first PC, open Command Prompt and type:
- Access the Shared Folder:
- On the second PC, open File Explorer.
- Type
\\192.168.1.100in the address bar and press Enter. - Enter login details:
- Username:
FileShareUser - Password: (Set in Step 1)
- Username:
- Click Remember credentials for automatic login.
- Click OK to access files.
Step 5: Map the Shared Folder as a Network Drive (Optional)
- On the second PC, open File Explorer.
- Right-click This PC > Map network drive.
- Choose a drive letter (e.g.,
Z:). - Type:
\\192.168.1.100\SharedFiles - Check Reconnect at sign-in and Connect using different credentials.
- Click Finish, enter
FileShareUsercredentials, and click OK.
Comparison of File Sharing Methods
| Method | Security Level | Ease of Use | Best For |
|---|---|---|---|
| Dedicated User (Recommended) | ✅ High (Only assigned users can access) | 🔸 Moderate | Secure file sharing between trusted users |
| Public Sharing (Everyone) | ❌ Low (Anyone on the network can access) | ✅ Easy | Quick, unsecured sharing |
| Homegroup (Removed in Windows 10/11) | ❌ N/A | ❌ Deprecated | Not available |
| OneDrive Sharing | ✅ High (Cloud-based security) | ✅ Easy | Remote file access |
| External USB Drive | ✅ High (Offline sharing) | ✅ Easy | Large file transfer |
Alternative Methods for File Sharing
- Using OneDrive:
- Upload files to OneDrive and share a link.
- Best for remote file access.
- Using FTP Server:
- Set up an FTP Server on one PC.
- Access files using an FTP client.
- Using a USB Drive or External HDD:
- Simple for offline sharing.
- Using Cloud Services (Google Drive, Dropbox, Nextcloud):
- Secure, accessible from anywhere.
- Using a Local NAS (Network-Attached Storage):
- Best for advanced users who need high-speed network storage.
Security Best Practices
✅ Use strong passwords for FileShareUser. ✅ Disable “Everyone” access to prevent unauthorized access. ✅ Enable firewall rules only for private networks. ✅ Disable SMBv1 (Old protocol, security risk):
Set-SmbServerConfiguration -EnableSMB1Protocol $false -Force✅ Monitor access via Computer Management > Shared Folders > Sessions.
Conclusion
By following this step-by-step guide, you can securely share files between two Windows 11 PCs using a dedicated user account. This method ensures controlled access and higher security compared to public sharing. If you prefer cloud-based solutions, alternatives like OneDrive or Google Drive might be more convenient.
📺 Watch More on Our YouTube Channel: Engineer How YouTube
🔗 Learn more tech tutorials at: EngineerHow.com
💬 Did this guide help? Drop a comment below and share this post!


