Introduction
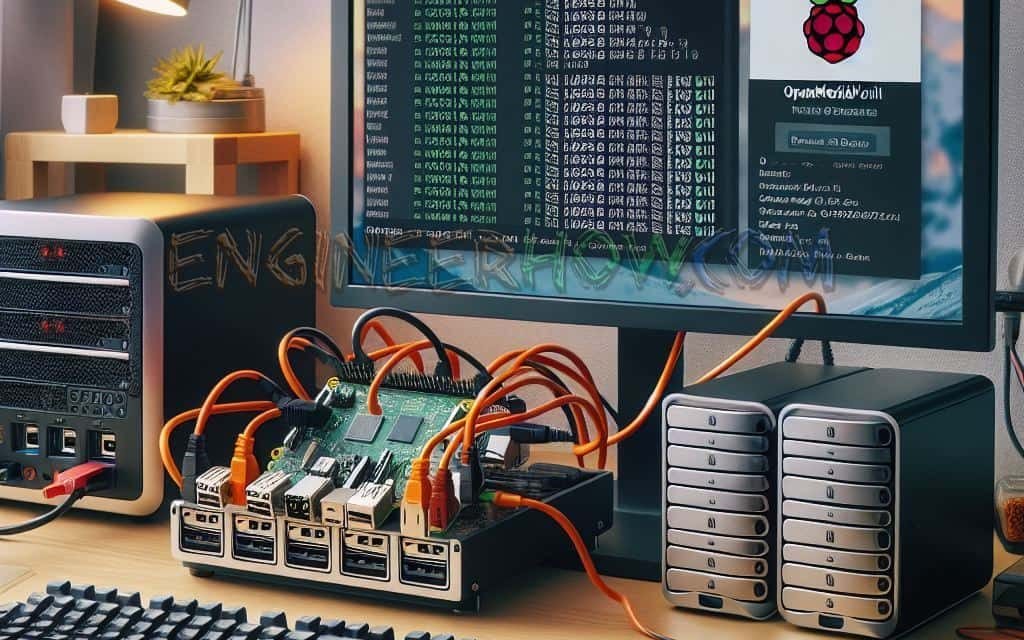
A Network-Attached Storage (NAS) is a fantastic way to store and share data efficiently across multiple devices in your home or office. However, commercial NAS solutions like Synology and QNAP can be expensive. If you’re looking for a cost-effective way to set up a NAS, consider using a Raspberry Pi, Orange Pi, Mini PC, or a custom-built PC. In this guide, we will explore affordable hardware options, the best free NAS operating systems, and provide an in-depth tutorial on OpenMediaVault (OMV), one of the most popular and user-friendly NAS solutions.
Best Cheap NAS Hardware Options
1. Raspberry Pi (4 or 5)
✅ Low power consumption
✅ Compact & silent
✅ USB 3.0 for faster storage access
✅ Affordable (~$50-100)
❌ Limited performance for heavy workloads
2. Orange Pi (5 or 5 Plus)
✅ More powerful than Raspberry Pi
✅ USB 3.0 & NVMe SSD support
✅ Affordable (~$80-120)
❌ Community support is smaller than Raspberry Pi
3. Mini PC (Intel NUC, Beelink, etc.)
✅ More powerful CPU (Intel/AMD)
✅ Better RAM and storage expansion
✅ Can run full Linux distros and NAS OS
✅ Price varies ($150-400)
❌ Higher power consumption than SBCs
4. Custom-Built PC as NAS
✅ Unlimited upgrade options
✅ Can repurpose old hardware
✅ Best performance for Docker, VMs, media servers
✅ Higher cost if buying new parts ($200+)
❌ Requires more power and space
Best Free NAS Operating Systems
Choosing the right OS is crucial for a stable NAS setup. Here are some of the best free NAS OS options:
1. OpenMediaVault (OMV) – Recommended
✅ Best for beginners
✅ Web-based UI, easy setup
✅ Supports Docker, RAID, SMB, NFS, FTP
✅ Active community
2. TrueNAS CORE
✅ ZFS support, enterprise-grade features
✅ Best for data integrity & redundancy
✅ Requires more RAM (min 8GB)
❌ Heavier than OMV
3. Unraid (Freemium)
✅ Great for media servers & Docker
✅ No strict hardware requirements
✅ Paid license for advanced features
4. Rockstor
✅ Uses Btrfs for snapshots & replication
✅ Best for those familiar with Linux
5. CasaOS
✅ Simple UI for home NAS
✅ Lightweight and beginner-friendly
❌ Fewer features than OMV & TrueNAS
OpenMediaVault: Installation & Setup Guide
Why OpenMediaVault?
OMV is a Debian-based NAS OS that provides an easy-to-use web interface to manage storage, users, services, and Docker applications.
1. Install OpenMediaVault
Option 1: Install OMV on Raspberry Pi / SBC
Flash Raspberry Pi OS Lite (64-bit) on an SD card using Raspberry Pi Imager.
SSH into the Pi and run the OMV installation script:
wget -O - https://github.com/OpenMediaVault-Plugin-Developers/installScript/raw/master/install | sudo bashLet the installation complete and reboot the system.
Option 2: Install OMV on a PC / Mini PC
Download OpenMediaVault ISO from OMV official site.
Use Rufus or BalenaEtcher to create a bootable USB.
Boot from USB, follow installation steps, and configure network settings.
After installation, access the web interface at:
http://<your-nas-ip>/(default login: admin / openmediavault)
2. Post-Installation Configuration
Change Default Password
Go to System > General Settings > Web Admin Password
Change the password for better security.
Set Up Storage
Navigate to Storage > Disks and check connected drives.
Format new disks under Storage > File Systems.
Create shared folders in Storage > Shared Folders.
Enable Network File Sharing
Go to Services > SMB/CIFS to enable Windows file sharing.
Go to Services > NFS for Linux-based sharing.
Set up user permissions under Access Rights Management.
3. Install Docker & Use Apps
OMV supports Docker, allowing you to run apps like Plex, Nextcloud, Home Assistant, Transmission, Jellyfin, and more.
Install Docker on OMV
Go to OMV-Extras (install it if not present).
Enable Docker and Portainer from the plugins list.
Install Docker, then access Portainer at
http://<your-nas-ip>:9000.
Run a Docker App (Example: Jellyfin Media Server)
Open Portainer and create a new Stack.
Paste the following Jellyfin Docker Compose code:
version: '3'
services:
  jellyfin:
    image: jellyfin/jellyfin
    container_name: jellyfin
    network_mode: host
    volumes:
      - /srv/dev-disk-by-label-NAS/Config:/config
      - /srv/dev-disk-by-label-NAS/Media:/media
    restart: unless-stopped
Deploy the stack and access Jellyfin at
http://<your-nas-ip>:8096.
Final Thoughts
Setting up a budget-friendly NAS using Raspberry Pi, Orange Pi, a Mini PC, or a custom PC is a great alternative to expensive commercial NAS solutions. OpenMediaVault makes NAS management simple and powerful, with support for file sharing, RAID, and Docker apps.
Want to explore more? Check out our detailed Docker + NAS guides on EngineerHow.com! 🚀
📌 About EngineerHow.com
EngineerHow.com provides step-by-step IT and engineering tutorials covering self-hosted solutions, networking, and civil engineering. We simplify NAS setups, VPS hosting, and Docker applications for professionals and enthusiasts alike.
💬 Got questions? Leave a comment below! 😊