Overview
In professional document preparation, branding is essential. Whether you are creating a technical report, a training manual, or a business proposal, adding your company logo as a watermark ensures your work is recognized and protected. A watermark serves as a faint background image that appears on every page without obstructing the readability of your text.
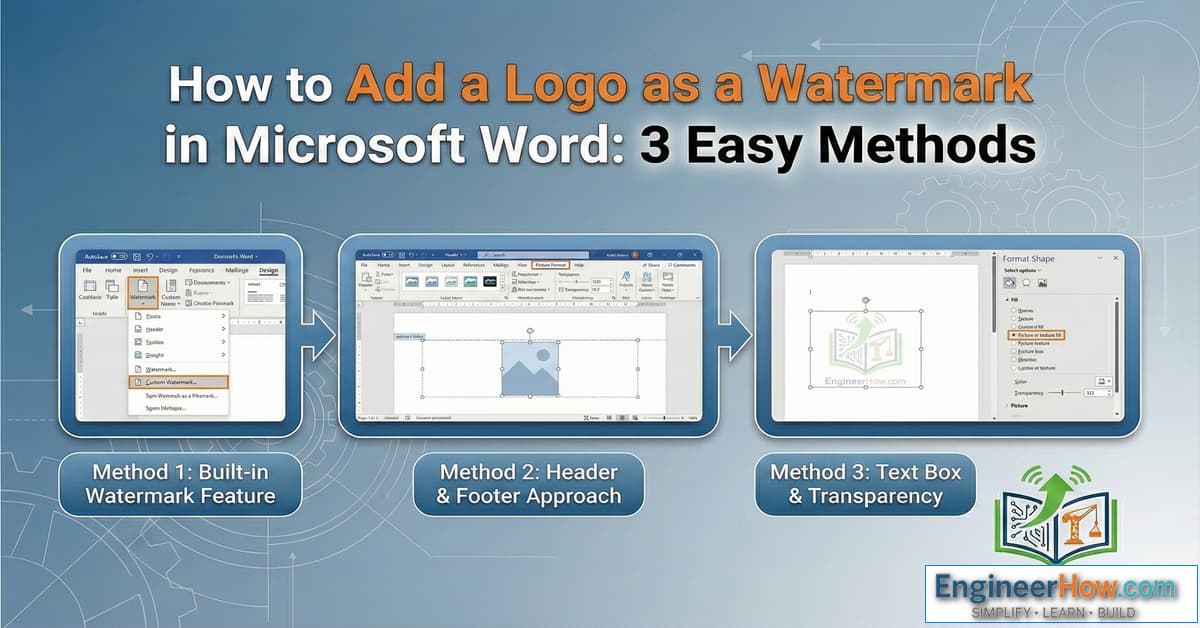
In this guide, we will explore three different ways to insert a logo as a watermark in Microsoft Word, ranging from the highly recommended “Header Method” to using Word’s built-in automated tools.
Post Contents
Option 1: Add Logo as a Watermark via the Header (Recommended)
This is the most professional method. It ensures your logo appears faintly behind the text on every page and, most importantly, it stays “locked” in the background so it doesn’t interfere with your typing.
Step-by-Step Instructions:
Open the Header: Double-click at the very top of any page to open the header area.
Insert Image: Go to the Insert tab, click Pictures, and select your logo file.
Change Wrap Settings: With the image selected, go to the Picture Format tab, click Wrap Text, and select Behind Text.
Positioning: Drag the logo to your desired location (usually centered) and resize it as needed.
Adjust Transparency: To ensure the logo is subtle, go to Picture Format → Transparency and set it to 70% or higher.
Exit Header: Double-click anywhere in the main body of the document to return to normal editing.
Result: The logo is now a permanent watermark on every page that won’t move while you type.
Option 2: Insert Logo Directly and Set “Behind Text”
If you only need the watermark on a specific page or want more immediate control over the image placement without entering the header, use this method.
Step-by-Step Instructions:
Insert Image: Go to Insert → Pictures and select your logo.
Set Text Wrapping: Right-click the image, select Wrap Text, and choose Behind Text.
Transparency: Navigate to Picture Format → Transparency to fade the image.
Placement: Move and resize the logo to fit your layout.
Tip: Be careful with this method; if the logo is too dark, it can make the text above it difficult to read. Always use high transparency.
Option 3: Use Word’s Built-in Watermark Tool
For those who want a quick, automated solution, Microsoft Word has a dedicated tool for this exact purpose.
Step-by-Step Instructions:
Navigate to Design: Go to the Design tab (or Page Layout in older versions of Word).
Open Watermark Menu: Click the Watermark button and select Custom Watermark… at the bottom of the list.
Picture Watermark: Select the Picture watermark radio button and click Select Picture to upload your logo.
Configure: Ensure the Washout box is checked (this automatically applies transparency) and adjust the Scale if needed.
Apply: Click Apply or OK.
Best Practices for Document Watermarks
To maintain a professional look for your engineering or IT documents, keep these tips in mind:
High Transparency: Always use a transparency level between 60% and 80%. A watermark should be a “ghost” image, not a distraction.
Header Placement: Placing the logo in the header (Option 1) is the best way to ensure it doesn’t accidentally get moved while editing the document.
Format Check: Always export your document to PDF or do a test print to ensure the watermark appears correctly and doesn’t interfere with text legibility.
Conclusion
Adding a logo watermark in Microsoft Word is a simple yet effective way to brand your professional documents. While the built-in Watermark tool is the fastest, using the Header method provides the most control and stability for long reports and multi-page manuals.
Copyright @EngineerHow.com
We recommend bookmarking this guide from EngineerHow.com for future reference. Our goal is to make complex technical topics simple and accessible for everyone.
🔗 Useful Links
📺 EngineerHow YouTube Channel: www.youtube.com/@EngineerHow
📢 About EngineerHow.com
EngineerHow.com is dedicated to providing expert IT and engineering tutorials, helping professionals and enthusiasts set up servers, networks, and self-hosted solutions. Our guides focus on step-by-step instructions to make complex topics easy to understand.
🚀 Explore More IT Guides: EngineerHow.com
💬 Join the Discussion! Have questions or insights? Drop a comment below and let’s discuss!
Copyright © 2025 EngineerHow.com. All Rights Reserved.