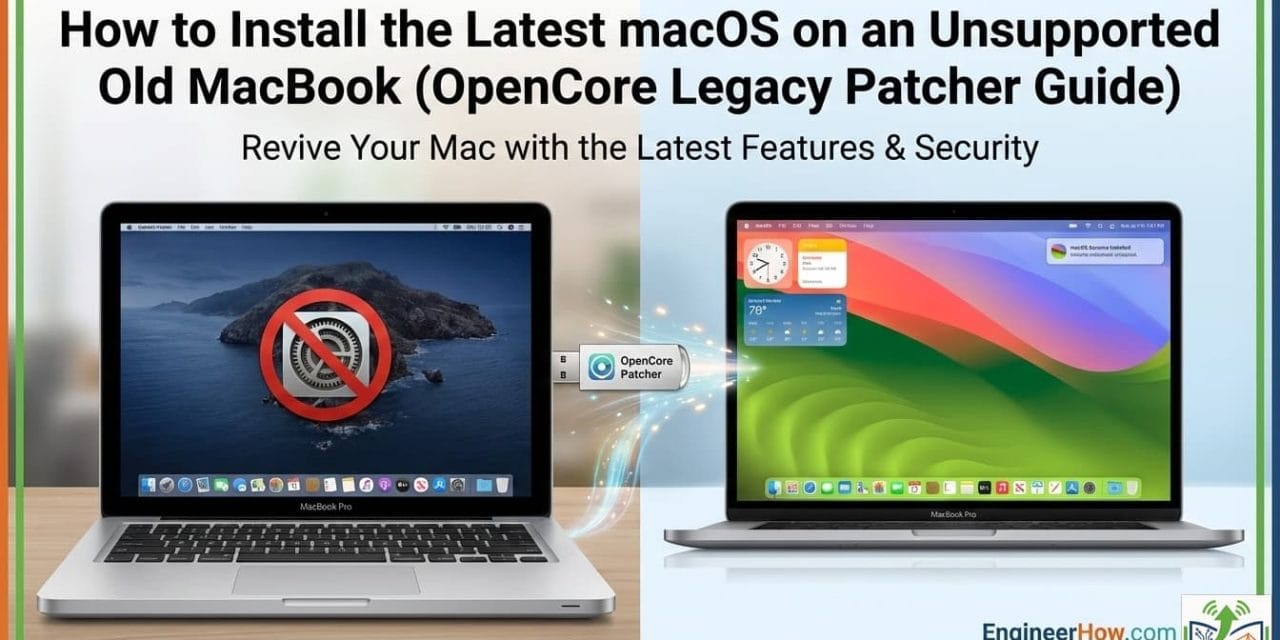
Is your perfectly functional MacBook stuck on an old version of macOS because Apple says it’s “obsolete”? Just because Apple stopped sending updates doesn’t mean your hardware is dead. Thanks to a brilliant community tool called OpenCore Legacy Patcher (OCLP), you can install the latest versions of macOS (like macOS Sonoma or Sequoia) on Macs as old as 2008. This guide will walk you through the process step-by-step to give your old Mac a second life.
Warning & Prerequisites
Before you begin, please ensure the following:
- Backup Your Data: This process involves wiping your drive or modifying the operating system. Always make a Time Machine backup first.
- The Hardware: You need a USB drive (16GB or larger).
- The Model: Check your Mac’s model identifier by going to Apple Logo > About This Mac > System Report. OCLP supports most models from 2012 onwards, and many from 2008-2011.
Step 1: Download OpenCore Legacy Patcher
- Go to the official OpenCore Legacy Patcher GitHub page.
- Download the file named OpenCore-Patcher.pkg
Step 2: Create the macOS Installer
You don’t need to hunt for macOS files; OCLP does it for you:
- Open the OCLP app.
- Click “Create macOS Installer”.
- Click “Download macOS Installer”.
- Select the macOS version you want (e.g., macOS Sonoma or Sequoia).
- Wait for the download to finish. OCLP will then prompt you to create the installer.
- Plug in your USB drive and select it as the target. Warning: This will erase the USB drive.
Step 3: Build and Install OpenCore
This is the magic step—installing a custom bootloader on the USB drive that “tricks” the installer into thinking your old Mac is a new, supported model.
- Return to the main menu of the OCLP app.
- Click “Build and Install OpenCore”.
- Click “Build OpenCore”.
- Once the build is complete, click “Install to disk”.
- Crucial: Select your USB drive (not your internal hard drive yet).
Step 4: Boot and Install macOS
- Shut down your Mac.
- Plug in the USB drive if it isn’t already.
- Turn on your Mac and immediately press and hold the Option (Alt) key.
- You will see a boot screen. Select the icon labeled “EFI Boot” (this is the OpenCore logo).
- Next, select “Install macOS…”.
- The standard macOS installer will load. Follow the prompts to install macOS onto your internal hard drive.
- Note: Your Mac might reboot several times. Each time, hold the Option key and select the “EFI Boot” icon first, then the “macOS Installer” or your internal disk.
Step 5: Post-Install Root Patching (The Driver Fix)
Once macOS is installed and you reach the desktop, things might look weird. Graphics might be glitchy, or Wi-Fi might not work. This is normal because the new OS lacks drivers for your old hardware.
If the OCLP app doesn’t open automatically, follow these steps:
- Open the OCLP app from your Applications folder (copy it from the USB if needed).
- Click “Post-Install Root Patch”.
- Click “Start Root Patching”.
- The app will identify missing drivers (Graphics, Wi-Fi, Bluetooth) and install them.
- Reboot your Mac.
Step 6: Install OpenCore to Internal Drive
Currently, your Mac only boots the new OS if the USB drive is plugged in. To make it boot from the internal drive, move the bootloader there:
- Open OCLP one last time.
- Click “Build and Install OpenCore”.
- Click “Install to disk”.
- Crucial: This time, select your INTERNAL hard drive.
- Reboot your Mac and unplug the USB drive.
Conclusion
Congratulations! You are now running a modern, secure operating system on hardware that Apple considered obsolete. You can now run the latest apps, browse the web securely, and enjoy features like Universal Control and AirPlay.
Copyright © 2025 EngineerHow.com
We recommend bookmarking this guide from EngineerHow.com for future reference. Our goal is to make complex technical topics simple and accessible for everyone.
🔗 Useful Links
- EngineerHow YouTube Channel: www.youtube.com/@EngineerHow
- About EngineerHow.com: EngineerHow.com provides expert IT and engineering tutorials, helping professionals and enthusiasts set up servers, networks, and self-hosted solutions. Our guides focus on step-by-step instructions to make complex topics easy to understand.
🚀 Explore More IT Guides: EngineerHow.com
💬 Join the Discussion! Have questions or insights? Drop a comment below and let’s discuss!