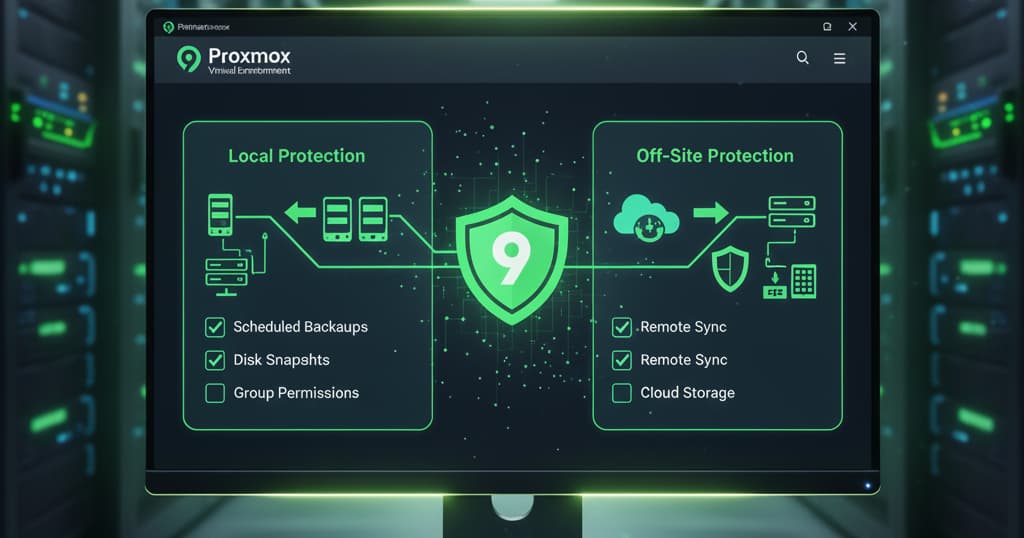
Welcome to the final part of our initial Proxmox setup series on EngineerHow.com! A server without a backup is a disaster waiting to happen. In this guide, we’ll cover the essential steps to create a robust backup strategy for your Proxmox VMs and containers, following the industry-standard 3-2-1 rule: 3 copies of your data, on 2 different media, with 1 copy off-site.
This guide is part 3 of our Proxmox on Hetzner series. We assume you have already Installed Proxmox and Secured Your Server.
Step 1: Configure Local Backup Storage
First, we need to tell Proxmox where to store the backup files on the server itself.
Log in to the Proxmox Web UI.
Navigate to
Datacenter->Storage.Click
Addand selectDirectory.Fill out the form with the following details:
ID:
local-backups(This is just a friendly name)Directory:
/var/lib/vz/dump(The default location is fine)Content: From the dropdown, select
VZDump backup file.Max Backups: Leave this blank here; we’ll control it in the backup job.
Click
Add. You will now seelocal-backupsin your storage list.
Step 2: Create an Automated Backup Job
Next, we’ll create a scheduled job that automatically backs up all our VMs and containers.
Navigate to
Datacenter->Backup.Click
Addto create a new backup job.Configure the backup job settings:
Node: Select your Proxmox node (
cloud).Storage: Choose
local-backupsfrom the dropdown.Schedule: Set a convenient time when the server is least busy (e.g.,
Dailyat02:00).Selection mode: Choose
Allto ensure every VM and container is included automatically.Mode:
Snapshot. This is the best option as it leverages ZFS snapshots to create a backup with zero downtime for your running services.Retention: This is crucial. Set how many copies you want to keep. A good starting point is to
Keep Daily: 7, which will retain one backup for each of the last 7 days.
Click
Create.
Your server will now automatically create a local backup every night at 2 AM!
Step 3: The Off-Site Backup Strategy with Google Drive
Local backups are great, but they won’t save you if the server’s drives fail. Using a cloud service like your 2TB Google Drive is an excellent and highly recommended strategy for off-site protection.
The Strategy: We will use a powerful tool called rclone to automatically sync our local backups to your Google Drive every night.
Basic Implementation Steps:
Install Rclone on Proxmox: Connect to your server via SSH with your admin user and run:
# EngineerHow.com
sudo apt update
sudo apt install rclone
Configure Rclone for Google Drive: This is a one-time setup process that links
rcloneto your Google Account.Run the interactive configuration tool:
# EngineerHow.com
rclone config
Follow the on-screen prompts:
Choose
nfor a new remote.Give it a name, for example:
GoogleDrive.Select
drivefor Google Drive from the list of storage types.Leave
client_idandclient_secretblank.Choose
1for full access.Leave
root_folder_idblank.Leave
service_account_fileblank.Choose
nfor “Edit advanced config”.Choose
yfor “Use auto config”.rclonewill give you a link to open in your browser.Open the link, log in to your Google account, and grant permission.
Copy the verification code from your browser back into the SSH terminal.
Choose
nwhen asked if it’s a shared drive.Finally, choose
yto save the configuration andqto quit.
Create a Cron Job: A cron job is a scheduled task. We’ll set one up to run the sync command every morning at 4 AM, after the local backup has finished.
Open the cron editor:
sudo crontab -eAdd the following line to the bottom of the file. This tells the system to run the
rclone synccommand every day at 4:00 AM.# EngineerHow.com - Sync Proxmox backups to Google Drive 0 4 * * * /usr/bin/rclone sync /var/lib/vz/dump GoogleDrive:ProxmoxBackups --fast-listNote: The
GoogleDrive:part must match the remote name you created. The:ProxmoxBackupspart specifies a folder in your Google Drive where the backups will be stored.Save and exit the editor.
Your server is now fully protected! It creates a local backup every night at 2 AM and then securely copies that backup to your Google Drive at 4 AM.
🔗 Useful Links 📺 EngineerHow YouTube Channel
📢 About EngineerHow.com EngineerHow.com is dedicated to providing expert IT and engineering tutorials, helping professionals and enthusiasts set up servers, networks, and self-hosted solutions. Our guides focus on step-by-step instructions to make complex topics easy to understand. 🚀 Explore More IT Guides: EngineerHow.com
💬 Join the Discussion! What’s your favorite off-site backup solution for Proxmox? Share your tips and questions in the comments below!