
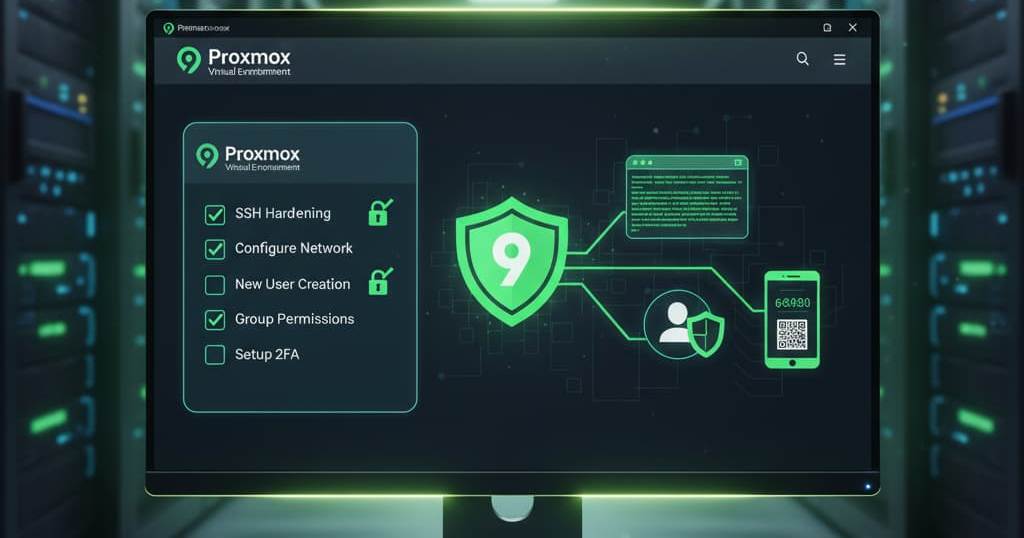
First 5 Steps to Secure Your New Proxmox Server (SSH, Users & 2FA)
Welcome back to EngineerHow.com! Now that you have a fresh Proxmox VE installation running, the single most important next step is to secure it. A server exposed to the internet is a constant target for automated attacks. In this guide, we’ll walk through the essential first steps to harden your server by creating a non-root user for SSH and protecting your web UI login with Two-Factor Authentication (2FA).
This guide is part of our Proxmox series. If you haven’t installed Proxmox yet, start with our Ultimate Guide to Installing Proxmox on a Dedicated Server.
Step 1: Install the sudo Package
By default, Proxmox (which is based on Debian) does not include the sudo command. We need to install it to allow a normal user to perform administrative tasks without logging in as root.
Log in to your Proxmox server’s shell as the
rootuser (either via the web UI or SSH).Run the following command to install the package:
# EngineerHow.com
apt install sudo
Step 2: Create a New Non-Root User
Continuing as root, we’ll create a new user who will become our primary login for SSH.
Use the
addusercommand. Remember to replaceyouradminwith a unique username of your choice.# EngineerHow.com - Replace 'youradmin' with your desired username adduser youradminFollow the prompts to create a strong, unique password for this new user. You can leave the other information (Full Name, etc.) blank by pressing
Enter.
Step 3: Grant Sudo Privileges
Now, we give our new user the ability to run commands as root by adding them to the sudo group.
Execute the
usermodcommand, again using the username you chose in the previous step.# EngineerHow.com - Replace 'youradmin' with the username you created usermod -aG sudo youradmin
Step 4: Disable Root Login via SSH
This is a critical security step. Disabling direct root login forces any potential attacker to guess both a username and a password, significantly increasing security.
Log out of your
rootsession. Open a new terminal and log in as your new user (youradmin) to test that everything works.Test your sudo access by running a command. It will ask for your (
youradmin‘s) password.# EngineerHow.com sudo apt updateOnce confirmed, edit the SSH configuration file:
# EngineerHow.com
sudo nano /etc/ssh/sshd_config
Find the line that says
#PermitRootLogin prohibit-password(or similar) and change it to:# EngineerHow.com PermitRootLogin noSave and exit the editor (
Ctrl+X,Y,Enter).Apply the change by restarting the SSH service:
# EngineerHow.com
sudo systemctl restart ssh
Step 5: Enable Two-Factor Authentication (2FA/TOTP)
Finally, let’s protect the most critical access point: the Proxmox web interface.
Log in to the Proxmox Web UI as
root.Navigate to
Datacenter->Permissions->Two-Factor Authentication.Click
Add.Give it an ID (e.g.,
google-auth).For
User, selectroot@pam.Click
Generate Key. A QR code will appear.Open your preferred authenticator app on your phone (Google Authenticator, Authy, etc.) and scan the QR code.
Enter the 6-digit code from your app into the
Verification Codefield in Proxmox and clickAdd.CRITICAL: Click the
Downloadbutton to save your one-time recovery keys. Store these in a secure password manager. Without them, you could be locked out of your account if you lose your phone.
Conclusion
That’s all there is to it! By creating a non-root user and enabling Two-Factor Authentication, you’ve significantly hardened your Proxmox server against common threats. These steps are some of the most important security improvements you can make for any server exposed to the internet.
What other Proxmox security tips do you rely on? Share your favorites in the comments below!
🔗 Useful Links 📺 EngineerHow YouTube Channel
📢 About EngineerHow.com EngineerHow.com is dedicated to providing expert IT and engineering tutorials, helping professionals and enthusiasts set up servers, networks, and self-hosted solutions. Our guides focus on step-by-step instructions to make complex topics easy to understand. 🚀 Explore More IT Guides: EngineerHow.com
💬 Join the Discussion! Have questions about securing Proxmox or other Linux servers? Drop a comment below and let’s discuss!


