
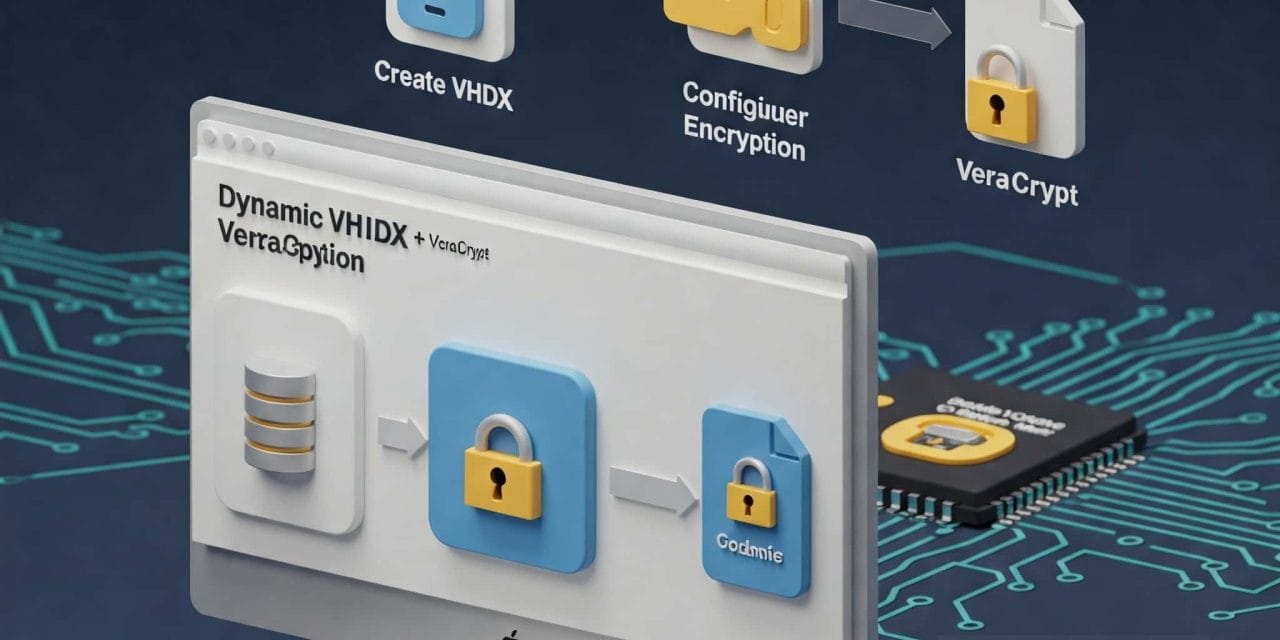
✅ Requirements
- Windows 10/11 Pro or higher (or Home with VHDX support)
- VeraCrypt
🔍 What is a VHDX File?
A VHDX (Virtual Hard Disk v2) is a disk image format introduced by Microsoft. It acts like a virtual hard drive stored in a single file and can be mounted to behave like a physical disk. You can store files, install software, or even boot from it in certain scenarios.
Key features:
- Supports sizes up to 64 TB
- Dynamic expansion or fixed size
- Ideal for encrypted containers or virtual storage
🔹 STEP 1: Create a Dynamic VHDX File
- Open Disk Management:
- Press
Win + X→ click Disk Management
- Press
- Create a VHDX:
- Click
Action→ Create VHD - Choose:
- Location: e.g.,
D:\EncryptedDisk.vhdx - Virtual hard disk format: VHDX
- Virtual hard disk type: Dynamically expanding
- Size: e.g., 20 GB
- Location: e.g.,
- Click OK
- Click
- The VHDX will appear as “Not Initialized” in Disk Management.
🔹 STEP 2: Initialize and Format the VHDX
- Right-click the new disk (e.g., “Disk 2”) → Initialize Disk
- Choose GPT
- Right-click the unallocated space → New Simple Volume
- Format with NTFS or exFAT
- Assign a drive letter (e.g.,
E:)
- Done! You now have a mounted virtual drive.
🔐 What is VeraCrypt?
VeraCrypt is a free and open-source disk encryption software. It allows you to create encrypted volumes or encrypt entire drives. It’s a fork of the discontinued TrueCrypt, offering:
- Strong AES, Serpent, and Twofish encryption
- Support for hidden volumes
- Keyfile-based authentication
- Portable versions available
🧰 Why Combine VHDX with VeraCrypt?
Using a VHDX file encrypted by VeraCrypt gives you the flexibility of dynamic disk size and powerful encryption. It’s perfect for:
- Keeping private files safe
- Backing up sensitive data
- Portable encrypted storage on USB
- Cloud-synced secure containers (e.g., Google Drive, OneDrive)
🔹 STEP 1: Encrypt the VHDX with VeraCrypt
- Open VeraCrypt
- Click Create Volume → choose:
- ✅ Encrypt a non-system partition/drive
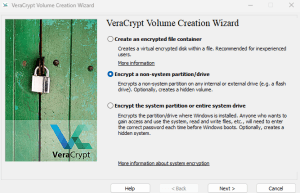
- Click Next
- Choose:
- ✅ Standard VeraCrypt volume
- Click Next
- In the device list, select the VHDX-mounted volume (e.g.,
\\.\Volume{GUID}orE:)- Click Next
- Choose encryption options (AES is fine) → click Next
- Set your strong password → click Next
- Format options:
- Filesystem: NTFS or exFAT
- Move your mouse around for entropy
- Click Format (this will erase data on the VHDX volume)
- After formatting, VeraCrypt encrypts the entire virtual disk!
🔹 STEP 2: Use the Encrypted VHDX
- Next time you want to use it:
- Mount the
.vhdxin Disk Management (or use PowerShell/Batch for automation) - Open VeraCrypt
- Select the volume (
E:or\\.\Volume...) - Click Mount, enter your password
- Your encrypted drive appears (e.g.,
Z:)
- Mount the
🪟 How to Use VeraCrypt VHDX on Another Windows System
- Copy the encrypted
.vhdxfile and VeraCrypt portable folder to USB or cloud. - On the new system:
- Install or run portable VeraCrypt
- Use
Mount > Select Fileand enter password/keyfile
- Assign a drive letter and mount it normally.
💡 The encryption remains system-independent — any system with VeraCrypt can mount it with the correct credentials.
🔐 Backup: Password and Keyfile Safety
Always keep copies of:
- Your password in a secure password manager
- Your keyfile on:
- A backup USB
- A cloud drive (Google Drive, encrypted)
- Another VeraCrypt volume (double-layered encryption)
🛡️ Without your password/keyfile, recovery is nearly impossible!
🚀 Auto-Mount or unmount VeraCrypt VHDX on Windows Login
Requirements:
- PowerShell script
- Windows Credential Manager (for password)
- Optional: USB or cloud-stored keyfile
Steps:
- Save your VeraCrypt password:
cmdkey /add:VeraCryptVolume /user:veracrypt /pass:YourSecretPassword- Create
MountPrivateVHDX.ps1script with:
$VHDXPath = "C:\Path\To\Secure.vhdx"
$MountLetter = "Z"
$KeyfilePath = "E:\verakey.key"  # Or Google Drive path
$VeraCryptPath = "C:\Portable\VeraCrypt\VeraCrypt.exe"
$Password = (cmdkey /list | Select-String 'VeraCryptVolume' | Out-String)

Start-Process -FilePath $VeraCryptPath -ArgumentList " /v $VHDXPath /l $MountLetter /a /p $Password /k $KeyfilePath /q /s"- Schedule at login via Task Scheduler:
- Trigger: At log on
- Action: Start a program:
powershell.exe - Arguments:
-ExecutionPolicy Bypass -File "C:\Scripts\MountPrivateVHDX.ps1"
📦 Convert to EXE (Optional for Silent Mode)
Use PS2EXE to convert your PowerShell script:
ps2exe -inputFile MountPrivateVHDX.ps1 -outputFile MountPrivateVHDX.exe -noConsole👋 Auto-Unmount on Shutdown or Logoff
Create a UnmountPrivateVHDX.ps1:
$VeraCryptPath = "C:\Portable\VeraCrypt\VeraCrypt.exe"
Start-Process -FilePath $VeraCryptPath -ArgumentList "/d /f /q"
Schedule in Task Scheduler:
- Trigger: On shutdown/logoff
- Action: Run PowerShell script
🔒 Windows Hello + Keyfile Security
While VeraCrypt doesn’t support Windows Hello directly, you can:
- Store the mount script or keyfile in a Windows Hello-protected folder
- Use BitLocker or encrypted VHDX that unlocks via biometrics to store your VeraCrypt keyfile
Bonus: Use a biometric USB drive (like Verbatim fingerprint drive) to hold the keyfile.
💡 Tips
- Enable VeraCrypt’s “Auto-Dismount after inactivity” option
- Regularly backup your container to a separate encrypted drive
- Use strong, memorable passwords or a password manager
📥 Download Resources
- 🔗 VeraCrypt Official Download
- 📁 VeraCrypt Mount Scripts: Download ZIP (Coming soon)
📺 Watch the Video Tutorial
👉 EngineerHow YouTube Channel
💬 Leave a Comment or Ask a Question!
We’d love to hear your feedback. Share your setup or ask questions in the comments.
🧠 About EngineerHow.com
EngineerHow.com is your go-to resource for IT & engineering tutorials, with a focus on self-hosting, open-source tools, networking, server setups, and civil engineering content.
Subscribe to our YouTube: @EngineerHow


