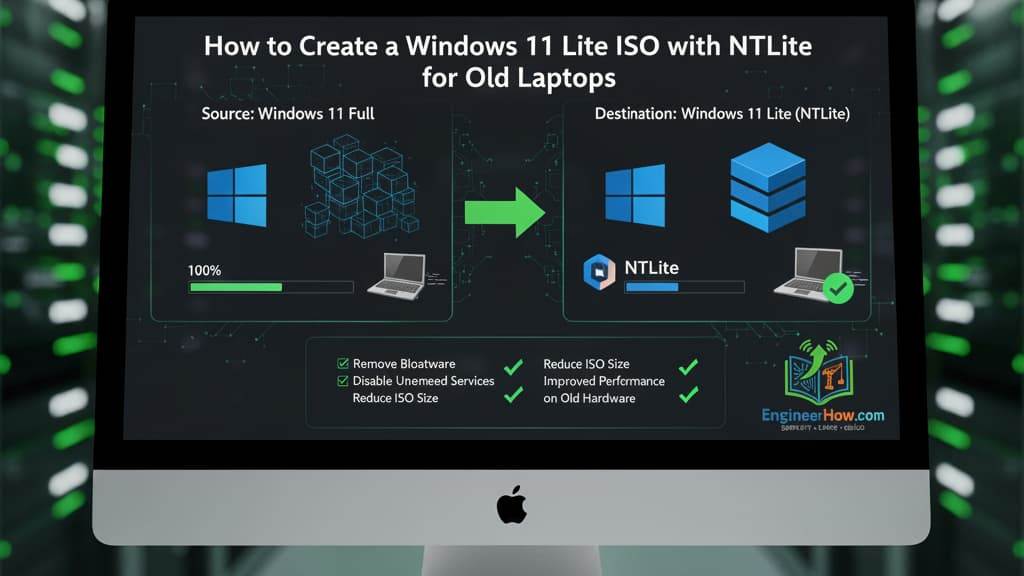
Windows 11, with its modern interface and new features, also comes with stricter hardware requirements and higher resource usage. For users with older laptops, the default installation can feel slow and bloated.
The solution is to create a custom, “lite” version of Windows 11 by removing unnecessary components before you even install it. This guide will show you how to use two powerful tools to accomplish this: NTLite to slim down the installation ISO and Rufus to create a bootable USB that bypasses the TPM and Secure Boot hardware checks.
WARNING: PLEASE READ THIS FIRST
Is this Legal/Safe? Modifying a Windows installation file is an advanced task and may be against Microsoft’s Terms of Service. While it is a common practice for tech enthusiasts, it is not supported by Microsoft.
Risk of Instability: Removing the wrong components can lead to an unstable, non-booting, or insecure operating system. This guide provides a relatively safe path, but you proceed at your own risk.
Data Loss: This process will completely erase the drive on the target laptop. Back up all important data before you begin.
Copyright @EngineerHow.com
Section 1: What You’ll Need
A host PC: A working Windows 10 or 11 computer to perform these steps.
A Windows 11 ISO: You can download this directly from the official Microsoft website.
NTLite: Download the latest version from the NTLite official website. The free version is sufficient for this guide.
Rufus: Download the latest version from the Rufus official website.
A USB Drive: 8GB or larger. This drive will be completely erased.
Section 2: Using NTLite to “Lite” the ISO (Basic App Removal)
This is where we will remove unnecessary apps and features to reduce RAM and storage usage on the final installed system.
Install and Launch: Install NTLite on your host PC and launch it.
Add ISO: In the Image tab, click the Add button and select Image (ISO, WIM, ESD, SWM). Find and select the Windows 11 ISO file you downloaded.
Extract: NTLite will extract the ISO to a temporary folder. This may take several minutes.
Load Image: Once extracted, the ISO will appear in the Image history list. Click it once to select it. In the Operating systems list that appears, find the edition you want to install (e.g., Windows 11 Pro). Right-click it and select Load.
Wait: Wait for NTLite to load the image. The status icon next to it will turn green when it’s ready.
Go to Components: Now, go to the Components tab on the left-hand menu.
Remove Apps: Expand the Windows Apps section. Carefully go through the list and check the boxes for components you want to remove. When in doubt, leave it.
Relatively Safe Components to Remove:
Cortana
Maps (if you don’t use it)
Microsoft People
Mixed Reality Portal
Office Hub / Get Office
Solitaire Collection
Teams (the built-in chat one)
Xbox (all components, only if you do not play games)
Your Phone / Phone Link
WARNING: Do NOT remove core System Apps, Windows Defender (unless you have a lightweight third-party antivirus ready), or Windows Update. Disabling Windows Update is a major security risk.
(Optional) Settings: Go to the Settings tab. Here you can disable features like Telemetry under the Privacy section. This is often safer than removing components.
Section 3: How to Make the ISO File Smaller (Advanced)
You may have noticed that after removing the apps in Section 2, your final Win11-Lite.iso is almost the same size as the original. This is normal.
Why the ISO Size Doesn’t Shrink:
Small Apps: The apps we removed (like Maps, Solitaire) are very small. The bulk of the 7GB+ ISO is the core OS, driver support, and the component cache (WinSxS).
Component Cache (WinSxS): Windows keeps backup copies of components in the
WinSxSfolder within the image. NTLite removes the app from the actual installation, but the cached files may remain in the ISO for repair purposes.Goal: The steps in Section 2 are for a smaller installed footprint and lower RAM usage, not necessarily a smaller ISO file.
To actually reduce the ISO file size, you must remove much heavier components. This is significantly riskier and can easily break your Windows installation.
Advanced Components to Remove for a Smaller ISO (Proceed with Caution!):
Language Packs:
In the Components tab, expand Languages.
Keep only your primary language (e.g.,
en-US).Check the boxes to remove all other languages. This can save 1-2GB.
Drivers:
In the Components tab, expand Drivers.
This is the riskiest section. You can remove entire categories of drivers you know you will never use.
Example: If your target laptop doesn’t have a printer, you could remove
Printerdrivers. If it only uses Wi-Fi, you could removeModemandEthernetdrivers.Warning: Removing the wrong storage or USB driver can make your installation fail. It is often safer to leave these alone.
System Components:
Still under Components, carefully explore other sections.
Example: You can remove
Tablet PC Support,Windows Media Player, orWindows TIFF IFilter(search indexer for images) if you are certain you don’t need them.Do not remove anything related to
.NET Framework,Core Components, orSecurity.
Final Step After Advanced Removal:
When you are finished, go to the Apply tab.
Make sure Create ISO is selected.
Click the Process button. This new ISO should be noticeably smaller.
Section 4: Using Rufus to Bypass Checks & Create USB
Now we take your new Win11-Lite.iso and use Rufus to create the installer, adding the hardware check bypasses.
Plug in USB: Plug your 8GB+ USB drive into your host PC.
Open Rufus: Launch the Rufus application.
Configure Rufus:
Device: Select your USB drive from the dropdown list.
Boot selection: Click the SELECT button and choose the
Win11-Lite.isofile you just created with NTLite.Image option: Leave this on Standard Windows 11 Installation….
Partition scheme: This depends on your target laptop.
For modern laptops (UEFI): Select GPT.
For older laptops (Legacy BIOS): Select MBR.
Target system: This will usually auto-select based on the partition scheme.
For GPT: It should be UEFI (non CSM).
For MBR: It should be BIOS (or UEFI-CSM).
Start: Click START.
CRITICAL STEP: A new window titled “Windows User Experience” will pop up.
CHECK the box for Remove requirement for 4GB+ RAM, Secure Boot and TPM 2.0.
(Recommended) CHECK Remove requirement for an online Microsoft account.
Confirm: Click OK. Rufus will warn you that all data on the USB drive will be destroyed. Click OK to continue.
Wait: Wait for Rufus to finish. The status bar will turn green and say “READY” when it’s done. You can then close Rufus and eject the USB.
Section 5: Installing on Your Old Laptop
Plug the newly created USB drive into your target laptop.
Turn on the laptop and immediately press the key to enter the Boot Menu (this is usually F12, F10, F8, ESC, or Del—it depends on your laptop’s manufacturer).
From the Boot Menu, select your USB drive to boot from it.
The standard Windows 11 setup will now begin. Thanks to Rufus, it will not stop you for failing the TPM, RAM, or Secure Boot checks.
Follow the on-screen instructions to install Windows 11 as usual.
By removing the bloat with NTLite, you should have a much more responsive Windows 11 experience, even on older hardware. @EngineerHow.com
We recommend bookmarking this guide from EngineerHow.com for future reference. Our goal is to make complex technical topics simple and accessible for everyone.
🔗 Useful Links 📺 EngineerHow YouTube Channel (www.youtube.com/@EngineerHow)
📢 About EngineerHow.com EngineerHow.com is dedicated to providing expert IT and engineering tutorials, helping professionals and enthusiasts set up servers, networks, and self-hosted solutions. Our guides focus on step-by-step instructions to make complex topics easy to understand.
🚀 Explore More IT Guides: EngineerHow.com
💬 Join the Discussion! Have questions or insights? Drop a comment below and let’s discuss!
Copyright © 2025 EngineerHow.com. All Rights Reserved.